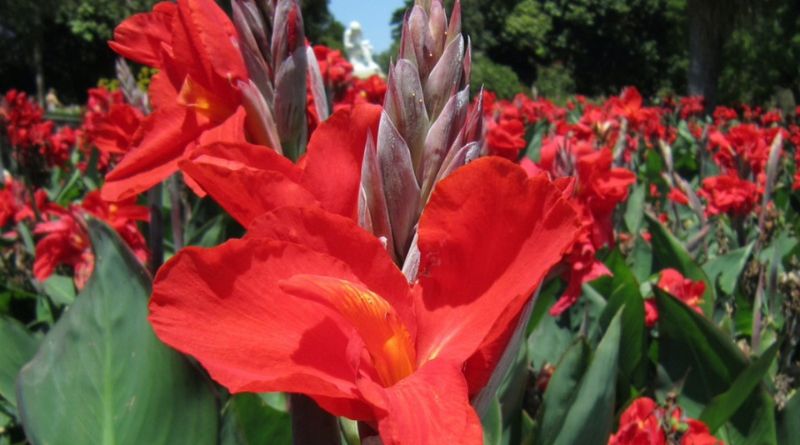
Cannas are vibrant and versatile flowering plants that add a touch of tropical beauty to any garden. Whether you’re a novice gardener or a seasoned green thumb, properly planting cannas from rhizomes ensures healthy growth and stunning blooms. Here are eight essential tips to help you get started:
1. Selecting Healthy Rhizomes

Choosing the right rhizomes is crucial for successful cannas planting. Opt for firm rhizomes with no soft or mushy spots, and ensure they are cream or white in color. Avoid rhizomes that appear blackened or feel soft, as these may indicate rotting caused by excessive moisture or dehydration.
2. Waking Them Up Early
To jumpstart the growth of your cannas, begin planting them indoors approximately four to six weeks before the last frost date. Plant the rhizomes in containers filled with well-draining soil, and place them in a warm, sunny spot. Water the soil regularly to keep it evenly moist, encouraging the rhizomes to awaken from dormancy and initiate early foliage and flower production.
3. Planting Depth
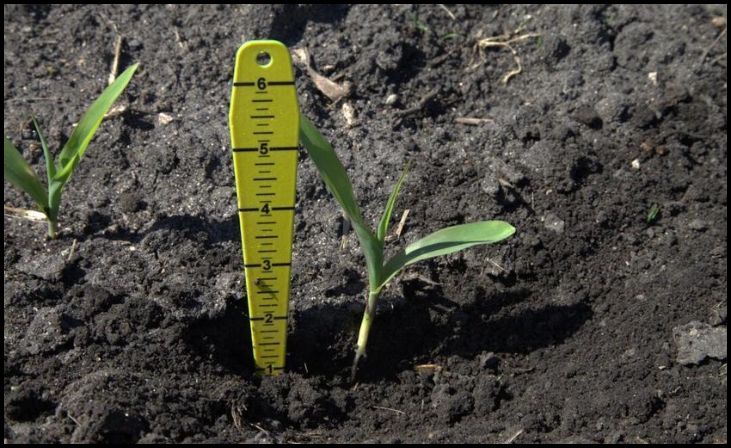
When transplanting cannas into the garden or larger containers, ensure they are planted at the correct depth. Dig holes that are 3 to 4 inches deep and position the rhizomes horizontally with the eyes or growing points facing upwards. The eyes should be buried at least 2 inches below the soil surface. Planting cannas too deep can inhibit growth and lead to stunted development.
4. Using Large Containers
For container gardening enthusiasts, selecting the right-sized containers is essential for healthy cannas growth. Opt for large containers that provide ample space for the plant’s extensive root system. Additionally, choose containers with a wide base to prevent tipping over in windy conditions and ensure stability as the plant matures.
5. Timing of Outdoor Planting

Wait until soil temperatures have warmed to at least 50°F (60°F is preferable) and all risk of frost has passed before transplanting cannas outdoors. Use the recommended tomato planting time in your area as a guideline if you don’t have a soil thermometer. Planting cannas in cold, wet soil can stunt their growth and increase the risk of disease.
6. Hardening Off
If you’ve started your cannas indoors, it’s essential to gradually acclimate them to outdoor conditions before transplanting them into the garden. This process, known as hardening off, helps reduce the risk of transplant shock by gradually exposing the plants to outdoor temperatures, sunlight, and wind over a period of several days to a week.
7. Planting Orientation
When planting cannas rhizomes, pay attention to the orientation of the eyes or growing points. Ensure that the eyes are facing upwards when placing the rhizomes in the soil, and position them horizontally rather than vertically. Proper orientation encourages healthy sprouting and ensures optimal growth.
8. Ordering and Storing Cannas
To secure your preferred cannas varieties or new releases, consider ordering rhizomes in winter from reputable nurseries or online suppliers. Properly store the rhizomes in a cool, dry place until spring planting. Whether you choose to wake them up indoors or plant them directly in the garden, storing rhizomes correctly ensures they remain healthy and viable for planting.